On Tuesday July 13, 2021 I shared five tips and tricks with Power Automate Cloud Flows at my former Melbourne BusApps, D365 & Power Platform user group.
It's my first user group talk for 2021 later today and would love for you to learn @MSPowerAutomate tips & tricks from me 😄 Check out the thread below ⬇️ of what you'll learn from this #WTF expert 🤓 Register today at https://t.co/31rbn64XXU See you there! #LetsAutomate pic.twitter.com/hyJPtMz6jl
— Elaiza Benitez #LetsAutomate (@benitezhere) July 12, 2021
In this WTF episode I shared what these five tips and tricks are so that you can learn about them too in your own time 😊
1. Naming your connection references
When you use add an action and if it's the first action to be added for that connector, as the flow maker you are usually signed in automatically which is what is used as the connection for the connector. Your credentials is used for the authentication.
Below is an example where I have added a Microsoft Dataverse action from the Microsoft Dataverse connector and I am immediately signed in.
In the WTF episode I talked about how it will automatically use the name of the connector as the Default Name value for the connection reference. In this scenario, it will appear as Microsoft Dataverse.
Even if you create a new connection from within the action, the same behaviour will appear as demonstrated in the WTF episode where the newly created connection reference will appear as Microsoft Dataverse.
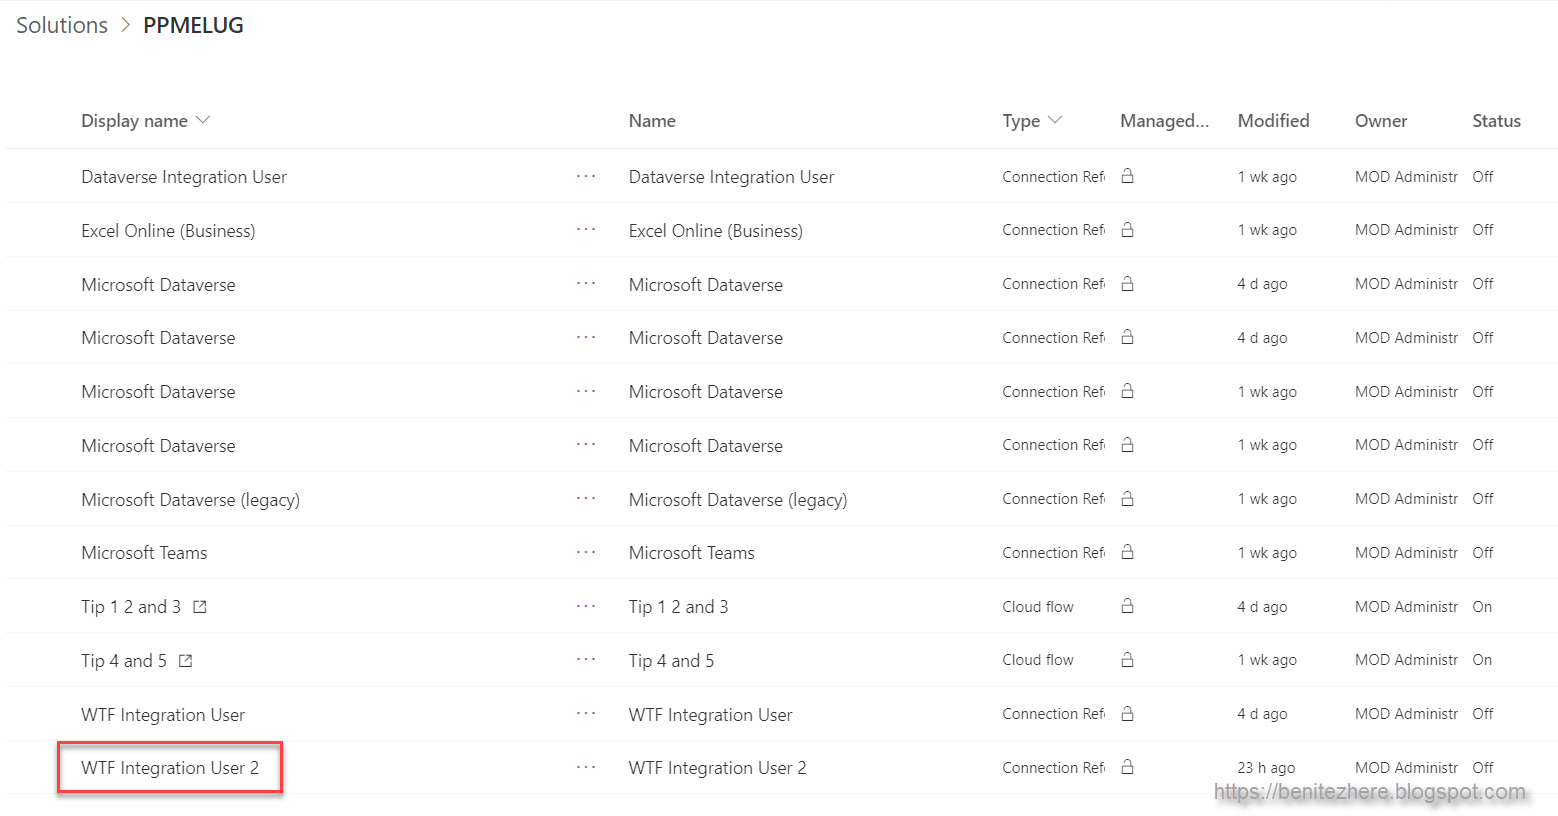
How to name your connection reference
- Enter your desired name in the Display name field
- Provide a description
- Choose a connector. In my scenario it is Microsoft Dataverse
- Choose your credentials as the Connection
- Click Create
2. Create HTML table action #hack
How to insert a space in the header value
3. Pieter's method for Apply to Each
- Have an Initialize Variable action before the Apply to Each which acts as the array variable
- In my WTF example I used this to form an array of the fullname values
- Within the Apply to Each have an Append to Array Variable action which grabs the fullnames of the Owner from each Case which is then surfaced up into the array variable (No.1)
- Any action downstream in the cloud flow can then use the array variable (No.1)
The infamous Pieter's method
Within the Apply to Each action, have a Compose action that will retrieve the value you're after. In my use case it was the fullname of the Owner associated to the high priority Case.
You'll notice however that it displays it as an array and will show duplicate values of the fullnames. This is because it grabbed all fullname values from all the Cases as expected.
BONUS TIP TIME ✨
The cloud flow this time round will now display the array as string with distinct values only. No more duplicate fullname values 👍🏼 and also notice who there's no comma and a space after the last row/fullname. Told you the join function is one smart cookie 😁
4. Custom date and time formats
Refer to the documentation for the format specifiers
For example the first format specifier, d, is displaying dates that have a day of 1 to 9 as a single integer value without a leading zero so it will appear as 1, 2, 3 and so forth.
Sun Jul 18 03:00 PM
ddd MMM dd hh:mm tt
- How to identify a Contacts' time zone in Flow using CDS and Bing Maps
- This covers how to get a Contacts' time zone so that you can format the date to their local time. This is useful for external communications.
- How to populate a date and time field based on a user's local time zone
- This covers how to get the user's time zone so that you can format the date to their local time. This is useful for internal communications amongst the user's who have access to Microsoft Dataverse.
- Note: This would only work if the communication is sent to a single person. In the scenario where it is sent to a group of users who may be in different timezones, then the suggestion here is to make a reference to the timezone such as "Sun Jul 18 03:00PM NZST"
5. Dataverse trigger condition
The example I gave in this WTF episode is about triggering the cloud flow only if the customer associated to the Case is an Account. The customer column is special where it can have two types - Account or Contact.
In the scenario where the customer column value is a Contact, the cloud flow should not trigger.
The trick
Summary
- Create the connection reference in a solution in order to enter a named connection reference
- Use Notepad and copy + paste your value for the Header into your Create HTML table action to have a space in the Header value
- Outside of the Apply to each action reference the output of the Compose action within the Apply to each action and use a couple of functions to display the array as a string
- Union - to retrieve only the distinct values in the array
- Join - to display the distinct values from the array as a single string
- Refer to the Power Automate Cloud Flow documentation to format the desired custom date and time value
- Use the Microsoft Dataverse trigger conditions under Settings to enter an expression that references the properties in the body of the trigger


0 comments:
Post a Comment