This is a special holiday edition #WTF episode where I came up with a fun idea of playing a Spotify Christmas on my Google Home through one click from my Flic button and Power Automate. I had a lot of fun with Megan Walker's MVP Advent Calendar - check out my gift here, and I wanted to do one more holiday themed vlog before the end of 2019.
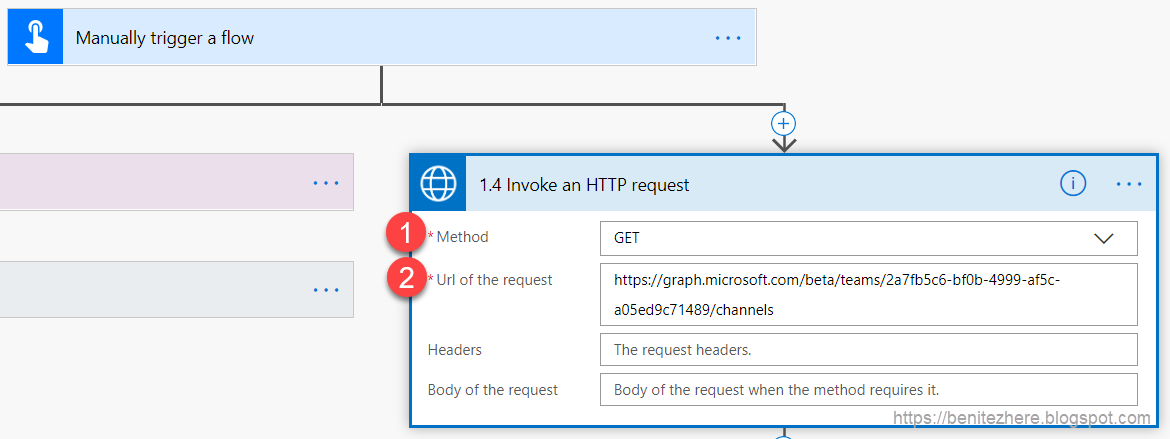
To configure the action click on the Import from Sample button.

In here you can select the method, the URI and if required the JSON body. Below is an example screenshot.

Once you import it will be available as an action that can be selected in Power Automate through your custom connector.


Note: As per Vivek's blog post it's important that you provide the scope outlined in the Spotify API documentation for the API Spotify request you are calling. This is done in the Security tab of the custom connector otherwise an error message will be encountered as the scope has not been defined in the authentication.


The JSON response will then only return the row in the array where the name property is equal to my Google Home device. This is so that we can use the device ID property value in the final action of Power Automate.
The warm-up
I had a look at the Spotify developers API documentation to identify the requests I needed. Once I found the API requests I needed, I had to sort out the authentication method and in the Spotify Authorization Guide there was a method that I could use called "Authorization Code." I knew of the tool Postman from my last project that I worked with Natraj Yegnaraman when I was living in Melbourne but I didn't know how to actually use it. I asked my awesome colleague Rex Wessels (🦖) about Postman and he taught me how to work with Postman. After a few hiccups the API requests were successfully sending as I was getting the responses I needed. Hooray!
An obstacle I experienced was that the access code used by the Authorization Code expires and requires a new token which can be generated from the refresh token. I was wondering how to replicate this in Power Automate. I had a go with the HTTP action in Power Automate I couldn't get it work, an error was occurring.
An obstacle I experienced was that the access code used by the Authorization Code expires and requires a new token which can be generated from the refresh token. I was wondering how to replicate this in Power Automate. I had a go with the HTTP action in Power Automate I couldn't get it work, an error was occurring.
That API Guy
I messaged one of the #FlowFam crew, Vivek Bavishi, for some guidance because I knew he successfully worked with the Spotify APIs from his road trip to UG Summit with Jon Levesque, Ed Gonzales and Anton Robbins. They had this awesome idea of getting the Microsoft Community to interact with them on Twitter by tweeting a song and artist with the hashtag of #ElectricMayhemRequest
Vivek created a Power Automate that collected the songs requested through Twitter and added them to a Spotify playlist so that they could listen to the music in their road trip. If you want to watch their cool road trip you can do so here.
After sharing my error with Vivek he said that I could connect with Spotify through a custom connector. We jumped on a Microsoft Teams call and he shared with me how to do it. As a result he has blogged about it which you can read here. I won't outline the steps on how to set up the custom connector as Vivek has already provided a guide in his blog post so read it as a prerequisite before following my steps in this #WTF episode.
After sharing my error with Vivek he said that I could connect with Spotify through a custom connector. We jumped on a Microsoft Teams call and he shared with me how to do it. As a result he has blogged about it which you can read here. I won't outline the steps on how to set up the custom connector as Vivek has already provided a guide in his blog post so read it as a prerequisite before following my steps in this #WTF episode.
Setting up the Spotify actions in the custom connector
When you create a custom connector in the Power Platform you can configure actions. In Power Automate this will be something you are already familiar with - think of CDS List Records action, CDS When a record is created action and so forth. Adding actions in the custom connector allows Power Automate makers to select the action when they apply it in their Power Automate with Flow.
There will be two Spotify API requests that I'll be using in my Power Automate with Flow.
There will be two Spotify API requests that I'll be using in my Power Automate with Flow.
Get a User's Available Devices
This Spotify API request will return a list of active devices. Take note that in the Spotify API documentation it states
When no available devices are found, the request will return a 200 OK response with an empty devices list.If you see no devices in the returned response it means that you don't have active devices. I've found that with my Google Home it will drop off from the list after a period of time if no music is playing. The JSON response will be an array where any device found is in a row.
To configure the action click on the Import from Sample button.
In here you can select the method, the URI and if required the JSON body. Below is an example screenshot.
Once you import it will be available as an action that can be selected in Power Automate through your custom connector.
Start/Resume a User's Playback
This Spotify API request will play a playlist, album or artist based on the Spotify ID that is provided in the JSON body. You can find the Spotify ID through the Spotify web player which I've highlighted in yellow in the below screenshot.
One of the query parameters that is optional in this Spotify API request is the device ID.

If a device ID is provided, Spotify will play the playlist, album or artist to the device. This is why we need to call the Spotify API that will retrieve the list of active devices so that Google Home can be called to play the selected Spotify playlist/album/artist.
If a device ID is provided, Spotify will play the playlist, album or artist to the device. This is why we need to call the Spotify API that will retrieve the list of active devices so that Google Home can be called to play the selected Spotify playlist/album/artist.
Follow the same steps as per above and don't forget to add the JSON Body which you can find in the Spotify API documentation.
Note: As per Vivek's blog post it's important that you provide the scope outlined in the Spotify API documentation for the API Spotify request you are calling. This is done in the Security tab of the custom connector otherwise an error message will be encountered as the scope has not been defined in the authentication.
Testing your APIs
One thing I didn't demonstrate in my vlog is that you can test your actions within the custom connector to set up prior to using them in Power Automate. You can run the action and check whether the response is successful.Lets Automate
The following is what my Power Automate looks like.
1.0 When Flic is clicked
The trigger will be when a single click is executed on the Flic button.
1.1 Retrieve Devices
In this step My Spotify custom connector can be used where we select the action that will retrieve the devices.

There is no need to provide any parameters.
1.2 Parse JSON
The Parse JSON is used for the purpose of using the Filter Array action downstream.

If we don't Parse the JSON and if we attempt to use the Filter Array action the following error will occur.

Power Automate doesn't recognize the output as an array.
If we don't Parse the JSON and if we attempt to use the Filter Array action the following error will occur.
Power Automate doesn't recognize the output as an array.
1.3 Initialize Variable
To use the Filter Array downstream in Power Automate we need to use the Initialize Variable action for the output from the Parse JSON action.1.4 Filter Array
Since multiple devices will be returned from the Spotify API in 1.1 Retrieve Devices, the Filter Array action is used to only retrieve the row in the array that has the Google Home device ID so that we can use it in the action that will call the Start/Resume a User's Playback Spotify API request.
I used the name of my Google Home device as the condition.
The JSON response will then only return the row in the array where the name property is equal to my Google Home device. This is so that we can use the device ID property value in the final action of Power Automate.
1.5 Play on Device
This is the magic finale! I am using the other action in My Spotify custom connector where I can reference the device ID from my Filter Array action in an expression.

The expression will look like the following,
body('1.4_Filter_array')?[0]?['id']
I am also providing the context URI for my chosen Spotify Christmas playlist. This is required as seen in the the Spotify API documentation for the Start/Resume a User's Playback request.Power Automate in action
I did a video on my Twitter which shows me clicking my Flic button and my Google Home playing my chosen Spotify Christmas playlist which you can view here.
Summary
Using the Flic button and a Power Automate custom connector to call the Spotify APIs, a chosen Spotify playlist/album/artist can play on a device such as Google Home.
As mentioned earlier, devices will only be returned by the Spotify API if they have been active or idle. Don't forget to check out Vivek's blog post for the steps in setting up a custom connector for your Spotify account.
If you want to purchase a Flic button head over to their website. They have recently released their next version of Flic called Flic 2.0. I am not sponsored by Flic by the way, I simply like Flic and like being creative with it using Power Automate 😄
One final note
Thanks again for supporting me and subscribing to my YouTube channel.
I hit my 1,000 subscribers milestone last month 😁 I am grateful, thank you!
I hit my 1,000 subscribers milestone last month 😁 I am grateful, thank you!