Monday, 29 January 2018

Hiding the Sign In with External Account option for users in Dynamics Portals

21:38 Posted by Benitez Here , , , , No comments
Dynamics Portals is pre-configured when provisioned. Not all features will be used or is needed by users. One of these features is the ability to log in with an external account.


The supported external accounts are
  • Azure AD
  • Facebook
  • LinkedIn
  • Microsoft
  • Twitter
At the time of writing this, Google is not supported. It was supported but currently not at the moment.


Anyways, back to it - there have been a couple of Microsoft Community Forum posts that have asked how to remove the Sign In with External Account option.
The comments recommend updating the CSS. From the comments, it's apparent that it's troublesome to get the CSS right for it to not show.

In the second forum post there's a comment from Shan McArthur in reference to the ability to hide it as a result of the July 2017 release.

It's not clear what the steps are if you go to docs.microsoft and not many people know that it is configurable which is what I share with you in this Quick Tip vlog.

What do I need to configure?

Site Settings in Dynamics Portals "is a configurable, named value that is used by website code to modify the behavior or visual style of the portal," click here for the source.

Basically a super user or administrator can update values in a Dynamics 365 record and the Dynamics Portal code will use the value entered as the code references the value in the record.

For the External Login features, they are configurable from Site Setting records. There's two site settings that need to be updated to False (assumption is that you have not enabled the other external accounts such as Facebook).

Authentication/Registration/AzureADLoginEnabled - this is the Azure AD option.


Authentication/Registration/ExternalLoginEnabled - this is for all External Accounts

What next?

If you clear the Dynamics Portals cache as seen in my vlog, it's still going to display.

What you need to do is is navigate to the Dynamics Portals admin centre and in Portal Actions, you want to select "Restart Portal." Make sure you perform this outside of office hours or in a period when you know users will not be using Dynamics Portals.


Wait a few minutes and when you go back to the Sign In web page, you'll see that the External Account option is no longer visible. Awesome sauce!


Summary

Dynamics Portals was designed to be configurable. In the past the only valid solution was to update the CSS to hide the Sign In With External Account but since the July 2017 release, it's now configurable. Don't go changing the CSS!!!

I'm sharing this because it is simple, takes less time and is the proper way to hide the Sign In with External Account. If you do apply these steps, do Like or Comment or even give me a shout out on Twitter so that I know you successfully did it without the pain of updating the CSS :)

Help me spread the word by sharing this among the Dynamics 365 community since this is not well known yet.

Till next time, Toodles.

Wednesday, 24 January 2018

Allowing users to self register in Dynamics Portals

07:21 Posted by Benitez Here , , , No comments
Hey Dynamics 365'ers, this is a follow-on from my previous vlog post where I showed how to enable a calendar for users on Dynamics Portals. The next step is allowing users to self register for the event they have selected from the calendar which is what I go through in this vlog.

Steps

The following is what I applied as seen in my vlog. It doesn't take that long to configure.

1. Create a custom entity for the registration

In my last vlog I showed that I used a custom entity called Event where these records were displayed in a Calendar style. This time you need another custom entity that will represent the user registrations. I created a custom entity called Event Registration and created a dedicated form for the portal. The key here is to have a lookup to the Event custom entity and a lookup to the Contact entity.


This form will be used by a Dynamics Portals Entity Form record.

2. Add the custom entity as a sub-grid

For users to be aware that they have registered for the event, I added a sub-grid to the Event form that is used by the Calendar in Dynamics Portals.

3. Create an additional Entity Form action

In the Dynamics Portal Event Entity Form record, you want to add the "Create Related Record" action and in here this is where you can select the custom entity created earlier - Event Registration, this is #1 in the screenshot below.


Next step is to define the relationship which is the Event lookup field (#2 in screenshot).

As a prerequisite to this action, you need to create a Dynamics Portals Event Registration Entity Form record that will be displayed as a modal when the user click on the Add Register button (#3 in screenshot). This is the dedicated Event Registration form for Dynamics Portals that I created in Step 1 above.

The Target Type is Entity Form (#4 in screenshot) and in the last step (#5 in screenshot) you will need to give the action a label so that it will appear as a button to the user.

4. Time to test

Clear the cache and simply click on the Register button. The modal will appear and fill in the fields before submitting the form.

5. What it looks like in Dynamics 365

The Event Registration record will be associated to the Event and the Contact. When you view the Event, you'll be able to see the associated Event Registrations. For the purpose of this vlog I navigated to the Event Registration Associated View. I didn't add a sub-grid in the Main form.

When you open the Event Registration record, you'll see the details of what the user entered through Dynamics Portals.

Summary

By using a combination of Entity List and Entity Form with an additional action, you can create a simple event self registration process. This is for a single event, this quick tip does not cater for a conference style registration process where there are parallel sessions or limited registrations per event.

As mentioned in my last vlog post, there is Marketing for Dynamics 365 which will have preconfigured event capabilities including Dynamics Portals. Currently it is in Preview mode. This option does cater for conference style events so keep your eyes posted on what's coming.

Till next time. Toodles.

Monday, 15 January 2018

Allowing users to see a Calendar in Dynamics Portals

21:55 Posted by Benitez Here , , , , No comments
Currently the Event Management features that were previously available in Adxstudio Portals is not available for Dynamics Portals. Through an entity list there is a feature that can be enabled to display the entity list as a Calendar which is what I walk through in this vlog.

Enabling Calendar in Entity List

In my vlog I use the scenario of registering an event to attend to in Westoros. The entity list I created is based on the custom Event entity I created. Scroll down in the entity list till you get to the Calendar View tab. 


In this tab this is where you can configure your entity fields in the Entity Field Mappings section. The fields that you want to select in the desired entity must be of the following type:
  • Start Date and End Date must be Date and Time fields
  • Summary, Description and Location must be Single Line of Text fields
  • Organizer must be a Lookup field
  • Is All Day must be a Two Option field
The next section to configure is Settings. In here you can define the following
  • Initial View - this is how the records are presented in a visual date format. You have Year, Week, Month and Day to choose from
  • Time Zone Display Mode - this is whether the record is presented in the user's local time zone or a Specific Time Zone. 
  • Display Time Zone - this must be populated if a specific time zone was selected
  • Style - this is the visual format of the calendar where it can be displayed as a full calendar or a summarized list of record with a smaller calendar
Once you have set configured the Entity Field Mappings and Settings, time to clear your portal cache and see it take effect. Ta da. No code required. Awesome sauce.

Going one step further

For those of you who want to change the look and feel of the calendar, please refer to Colin's blog posts 
OK so there is another offering where you can have a portal preconfigured purely for the purpose of marketing which you can read about it here.

It is currently in preview and is not available yet to the general public. You can wait for this to become available however I am not 100% sure what the pricing will be and whether it can be included in a current Customer Engagement subscription.

Summary

It is possible to show a calendar in Dynamics Portals through Entity Lists. To extend the out-of-the-box functionality, Colin's blog posts (see above links) outlines how JSON or XML can be referenced by liquid templates and how an iCalendar can be downloaded.

If you are going to have a go with this out-of-the-box, you do need to have the administration web role so that you can clear the cache and review your configurations.

Till next time, toodles.

Tuesday, 9 January 2018

Vlog Blooper Reel

22:21 Posted by Benitez Here , , , No comments
Happy New Year to 2018!

Here's a blooper reel I put together.


Vlogging can be hard at times as you're simultaneously thinking about your next steps/clicks that you're going to show and discussing it while being recorded. There's times where I will accidentally slip up on camera which you don't normally see! But I still love it #vloglife

I'll be posting a new Dynamics Portals vlog next week so make sure you've subscribed to my YouTube channel to get instant notification when I've published a new vlog.

For some other humour, check out Ben Hosk's funny video.

Sunday, 17 December 2017

Allowing users to apply filters in Dynamics Portals

21:57 Posted by Benitez Here , , , No comments
When you're shopping online you usually have the option to apply filters such as shoe size, colour or dress style. Users have the control of narrowing down what they would like to see from the list. Filters can be applied in Dynamics Portals which is what I go through in this quick tip vlog.

How to configure filters in Entity Lists

A view in Dynamics Portals is displayed through the combination of an Entity List and Web Page.
In an Entity List there's a section called Metadata Filter. In here is where you can configure the filters for the list.

  1. Enabled - tick this checkbox
  2. Orientation - how the filter appears in the list view, either horizontally or vertically
  3. Apply Button Label - you can have a custom label that the user sees to prompt them to click the button for their filters to be applied
  4. Filters - these are the options available for the definition of the filters. In my vlog I use Lookup Set as my columns currently displayed are Lookup fields. The filter I applied is by Kingdom
Note: You can apply more than one filter. In my vlog I added another filter that allows users to filter by Program.

Review your filter

Time to test. Browse to the web page of the entity list in your Dynamics Portals and check that the filters you have defined is working. If you are using check boxes as the selection mode, your users can select more than one filter

Summary

Filters for Dynamics Portals is a simple configuration exercise, no code is needed to provide this type of functionality.

Shout out to some of my new Twitter followers from last week :) Follow me on Twitter.

Toodles.

Sunday, 10 December 2017

App Designer V9 features including WYSIWYG View Designer

22:33 Posted by Benitez Here , , No comments
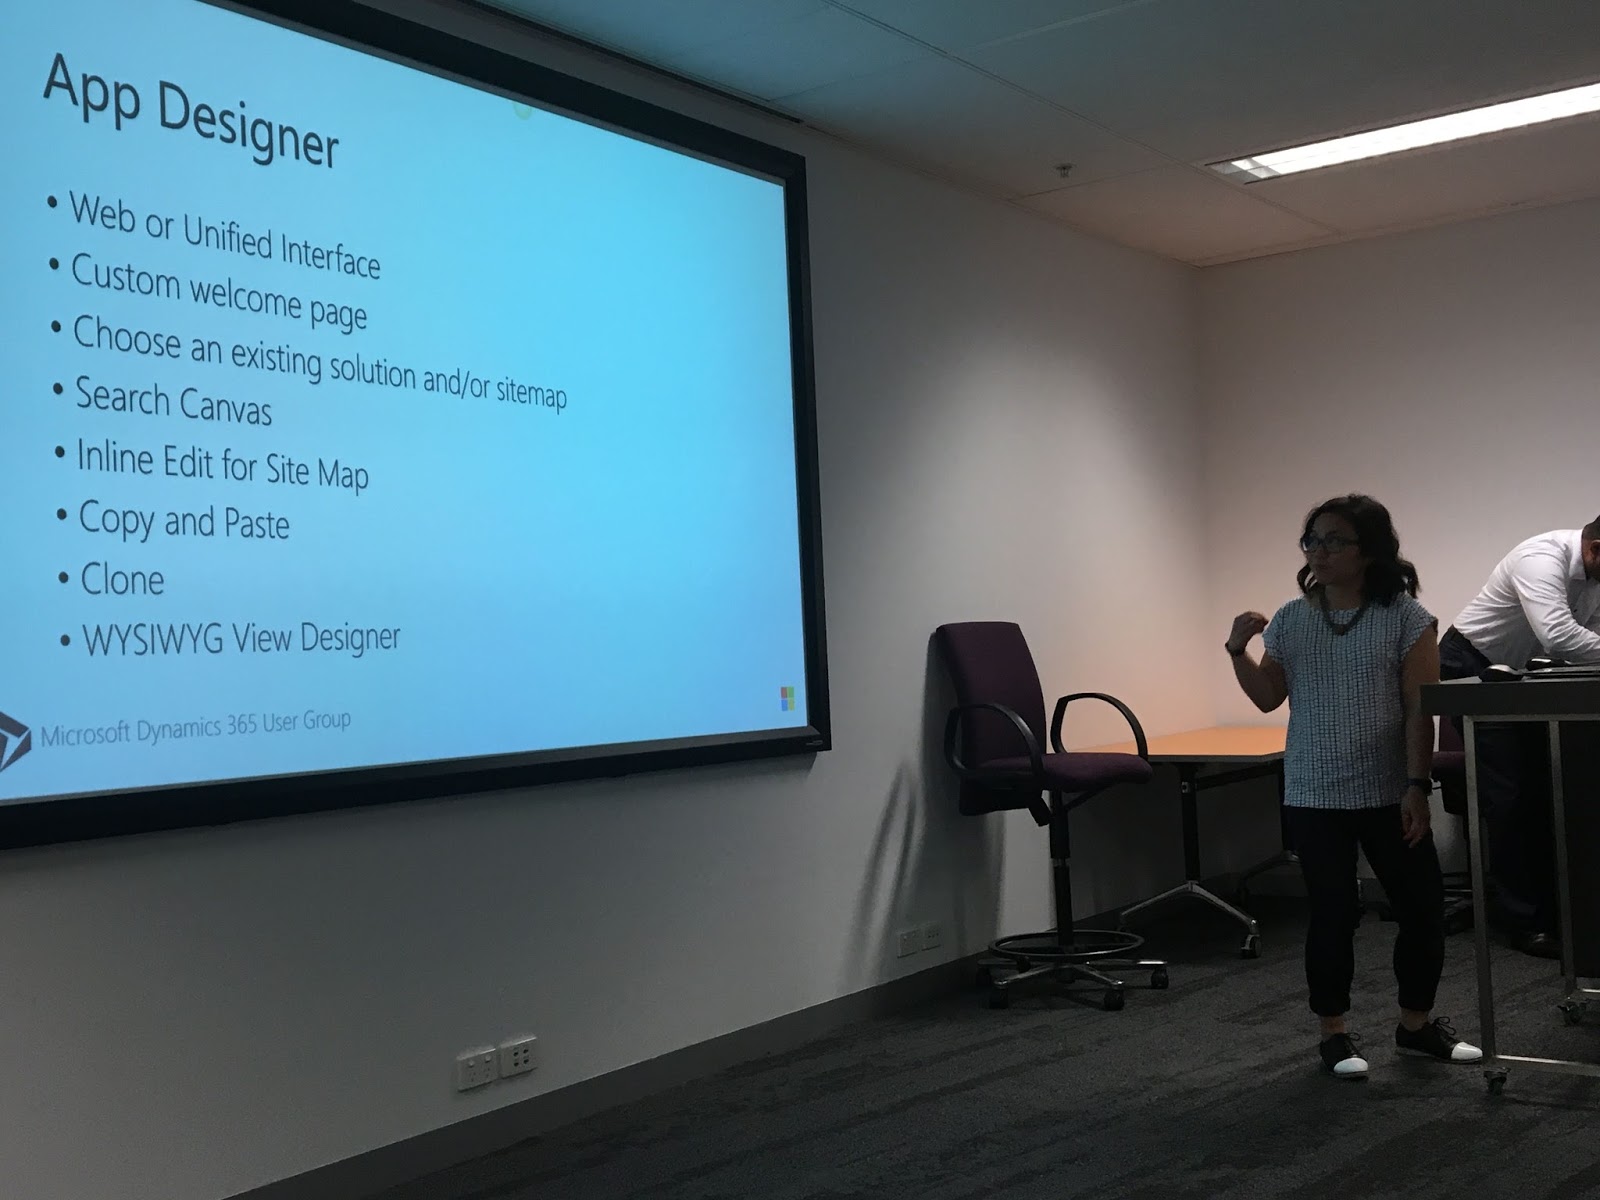
I presented the App Designer V9 features in the last Melbourne Dynamics User Group for the year alongside Scott, Andre, Nadeeja and Shane. We all teamed up in presenting the latest and greatest of Dynamics 365 V9. It was the largest attendance we had in 2017 which was awesome!


I'm a huge fan of the App Designer and I've previously vlogged and blogged about it here. This time round I'm showing you some of the old and new features from the V9 Customer Engagement release.

The following is what I covered and you can check this out in my vlog below.
  • Web or Unified Interface
  • Custom welcome page
  • Choose an existing solution and/or sitemap
  • Search Canvas
  • Inline Edit for Site Map
  • Copy and Paste
  • Clone
  • WYSIWYG View Designer

Web or Unified Interface

You can select what type of App you would like to create. Web is the traditional interface you are used to where as Unified Interface is the new look and feel when browsing through a device such as mobile or tablet. This is useful because you can now build dedicated apps for your devices. One current example is I'm working with a client where their employees out and about only need quick and limited information about their customers on their phones, so we built an Unified Interfaced app with reduced information for this purpose.

Custom Welcome Page

This one I did cover previously. You can configure an App to load a Welcome Page that will appear when an end user opens the App.

No more of this lady.


This is great for Dynamics 365 Customers that want to make the experience more personal or display some quick tips outlined to the end user.

The first thing you need to do is create a simple web page. Then you need to upload this file as a Web Resource in a solution.


When creating a new App, you'll be able to select the web resource.


After you're done building your App, you can then test it out.


Choose an existing solution and/or sitemap

You can build an App outside a solution by navigating to Settings >  My Apps > Create New App. In this scenario, you can select the Solution or Sitemap you want to associate the App too. This will still load even though if you create the App in a solution.

Search Canvas

The Search Canvas allows you to search for components within your App Designer which is handy when you have many entities in the App. It allows you to have quick and easy access to the entity.

Inline Edit for Site Map

The Inline Edit allows you to change the label of a component in the Site Map easily without having to use the wizard on the right hand side.

Copy and Paste or Clone

These two are similar in nature from the looks of it. I haven't discovered yet how they differ from each other. They pretty much create the same component you have selected.

Copy and Paste

Clone

WYSIWYG View Designer

This is my personal favourite! I go through this in detail in my vlog so go check it out if you haven't already.

Traditionally you build views through a solution and you add the fields you want to display as columns, adjust the width of the columns and configure sorting. The nitty gritty aspect of this process is having to publish the view, navigating the view and check that it looks alright in terms of position of columns, whether the column width needs to increased etc. It's trial and error.

The WYSIWYG View Designer allows you to review your view in real-time. You can instantly see your information in the view and adjust accordingly. Pretty neat. You can also continue to use AND/OR statements and apply filters.

Limitation I came across

What I did find is that you can't edit views in the WYSIWYG View Designer once you have saved and exited from the view you created. You would need to edit it within the solution. Who knows, it could be made available in a future release.

Summary

Have a play with the App Designer if you haven't done so already. It's really cool and it's changed the user experience as you can now personalize it based on their role and their daily interactions with Dynamics 365. You can create a custom Welcome Page and the new Site Map Designer features of copying and pasting will be handy when replicating the same entities in another Area.

I do like the new WYSIWYG View Designer and I think it's a teaser of what else is coming in terms of making it easier to configure and customize in Dynamics 365.

Till next time, Toodles.

Sunday, 3 December 2017

Quick Tip: resolving blank page when clearing cache in Dynamics Portals

20:39 Posted by Benitez Here , , No comments
Whenever I do testing for Dynamics projects, I tend to do it in the context of the user of the user story. When testing as the user role, you're ensuring that the acceptance criteria of the user story has been met. Usually with Dynamics Portals there will be Web Roles that are created and assigned to portal users as there can be more than one user role interacting with the portal.

The behaviour that follows when testing in Dynamics Portals is to often delete test records or tweak a user experience by changing a configuration and repeat the testing steps. With Dynamics Portals, you browse to a particular page that allows you to clear the cache so that the latest changes can be in-sync with Dynamics 365. However sometimes you see a blank page. This use to confuse me when I did my testing when I first transitioned from Adxstudio Portals to Dynamics Portals.


Wondering why? This is what I explain in my quick tip vlog. Check it out.


Summary
As seen in my vlog, if you browse to https://yourportal.microsoftcrmportals.com/_services/about you may encounter seeing a blank page. This is because you're logged in as a portal user that does not have the administrator web role due to testing in the context of the user of the user story. Simply either log in as a user with the Dynamics Portals administrator web role or temporarily assign the administrator web role to the user you are testing as and immediately remove it afterwards.

Thanks for checking out my quick tip. Till next time, toodles.